This homemade mixed berry jam recipe is easy to make from scratch with only 3 ingredients (no refined sugar and no pectin needed). It's all natural, not too sweet, bursting with fruity flavor, and ready in under 20 minutes!
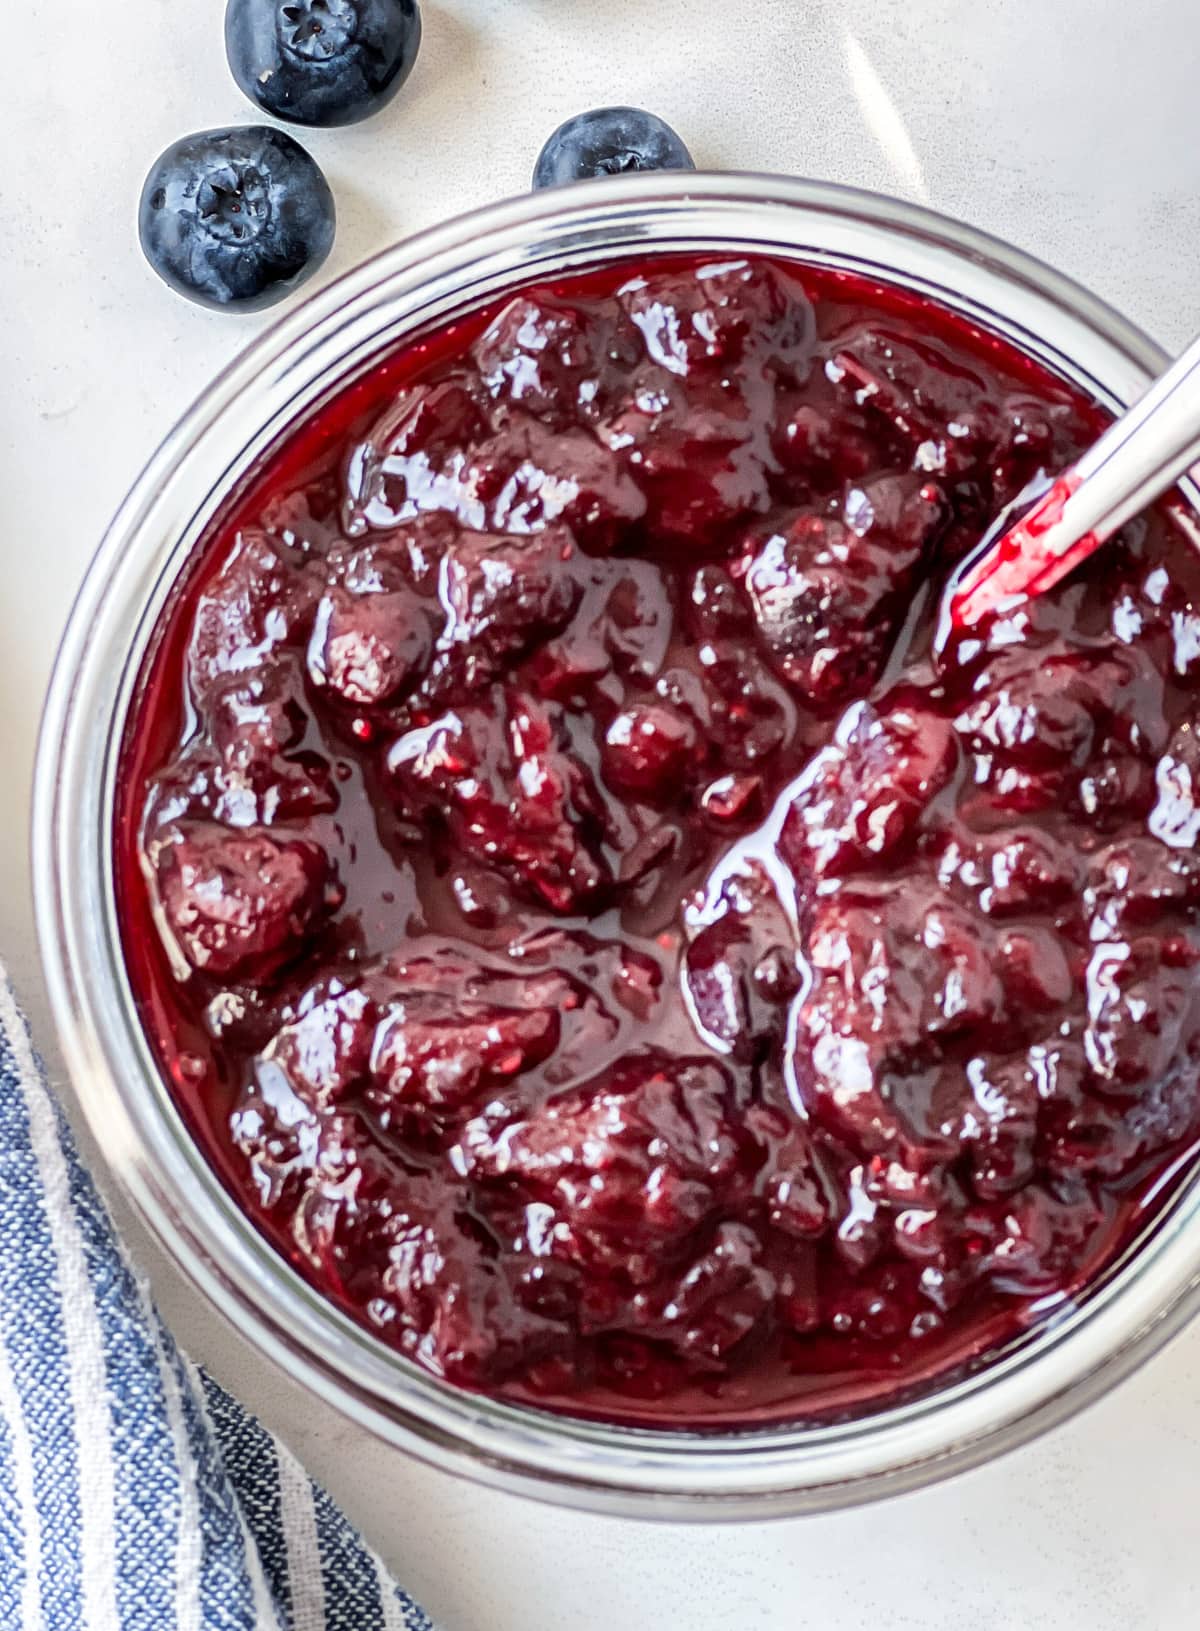
Making homemade jam is a fun (and delicious!) summer activity when berries are abundant. There's nothing better than the taste of homemade jam with peanut butter on a slice of toast, smeared on vegan banana bread or stirred into a yogurt granola bowl for breakfast.
This small batch jam can be made with any fruit (fresh or frozen). My family loves the flavor of cherry blueberry jam; but you can preserve any fruit (or combination of fruit) in this refrigerator jam recipe.
Why You'll Love this Mixed Berry Jam
Super vibrant and fruity, this healthy berry jam recipe is all natural, sugar free, and pectin free. Here's a few more reasons homemade jam is way better than store-bought jam:
- Quick and easy to make from scratch: Very easy jam recipe for beginners!
- Sugar free jam: Made without additives, no refined sugar or high fructose corn syrup only a splash of maple syrup for sweetness.
- Customizable: Choose your favorite combination of fruit and customize it to your level of sweetness.
- Small-batch jam recipe: Make just one jar of jam at a time!
- No canning required!: This is a quick refrigerator jam that skips the hot water bath processing (aka canning).
Homemade Jam Ingredients
You'll need only 3 ingredients for this healthy, cherry, blueberry, cranberry jam:
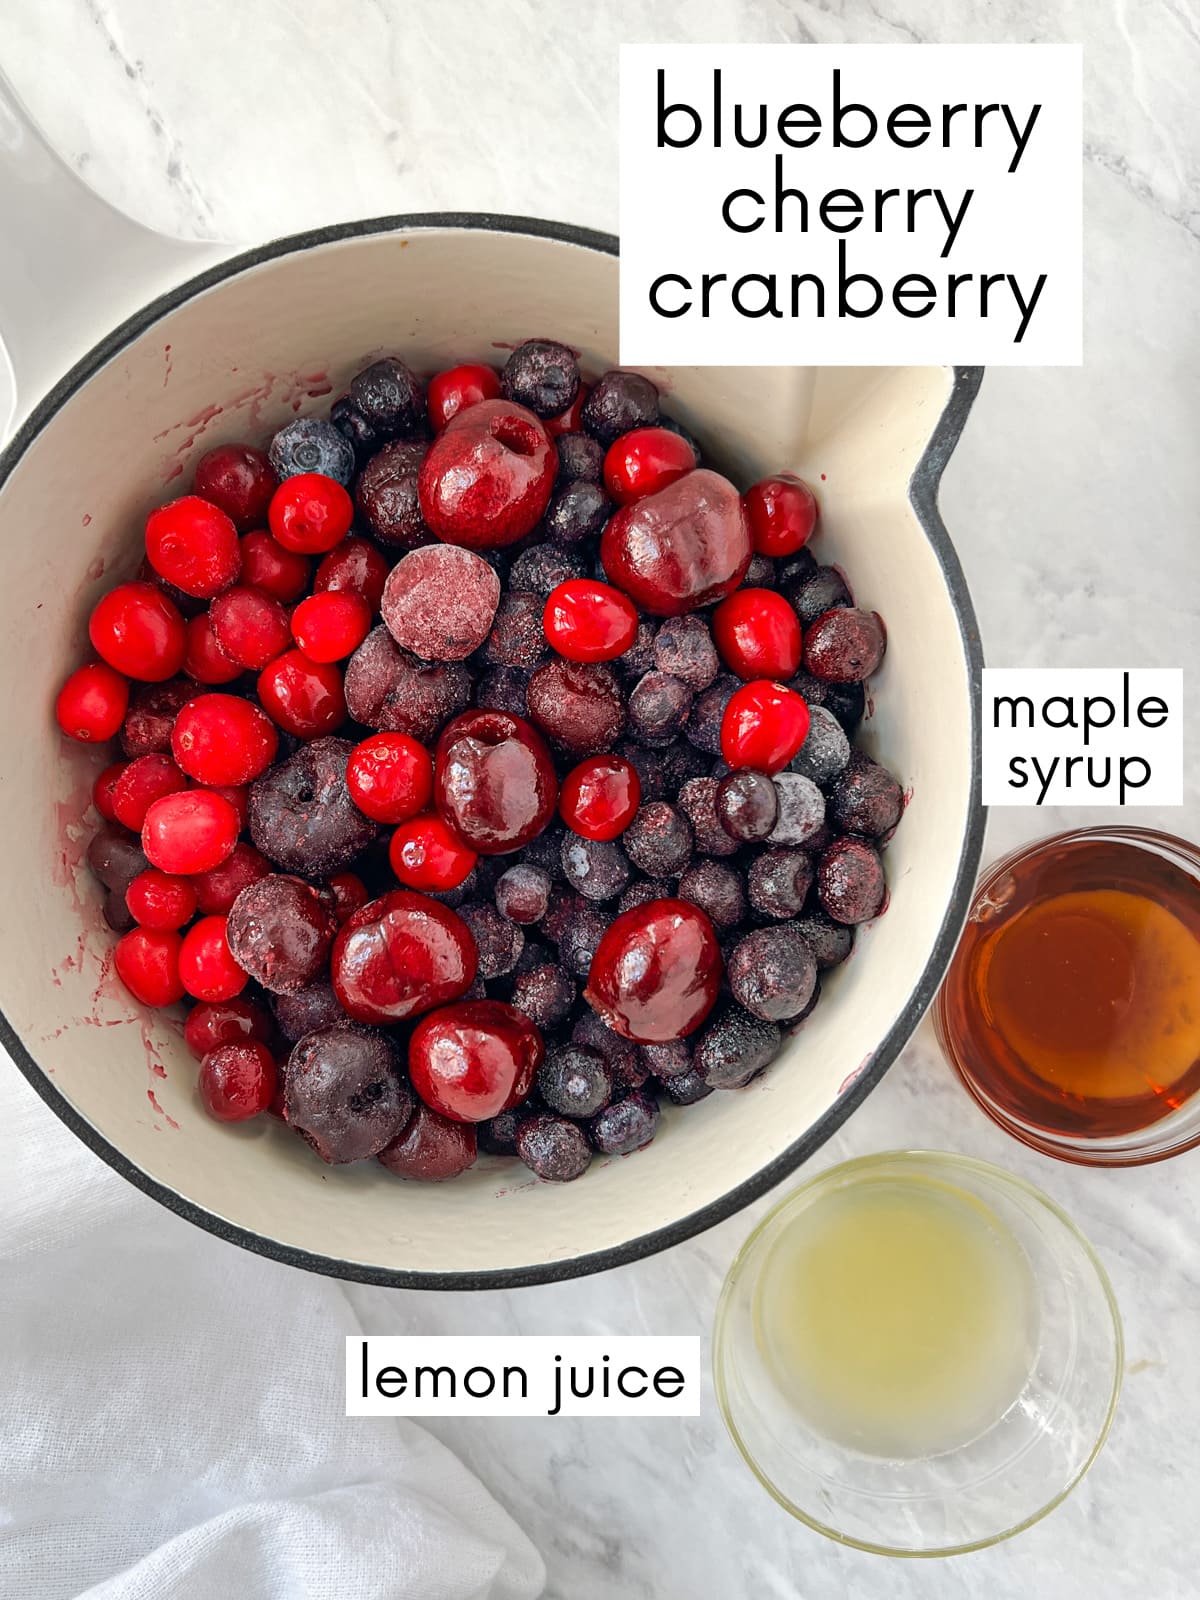
- Fresh or frozen fruit: Use blueberries, cherries, cranberries, strawberries or raspberries or any combination of fruit.
- Fresh lemon juice: Sub in fresh orange juice if you prefer.
- Sweetener: I like pure maple syrup, but you can use another sweetener of choice.
Want to Learn How to Make Jam?
All homemade jam has the same basic technique: boil fruit, sugar/sweetener, and lemon juice together until thick and jammy - so easy! Let's make a batch together.
- Start by preparing the fruit, washing, removing pits and stems as necessary. Slice fresh cherries or larger fruit into chunks.
- Place one or two plates in the freezer for testing the jam later in Step 4.
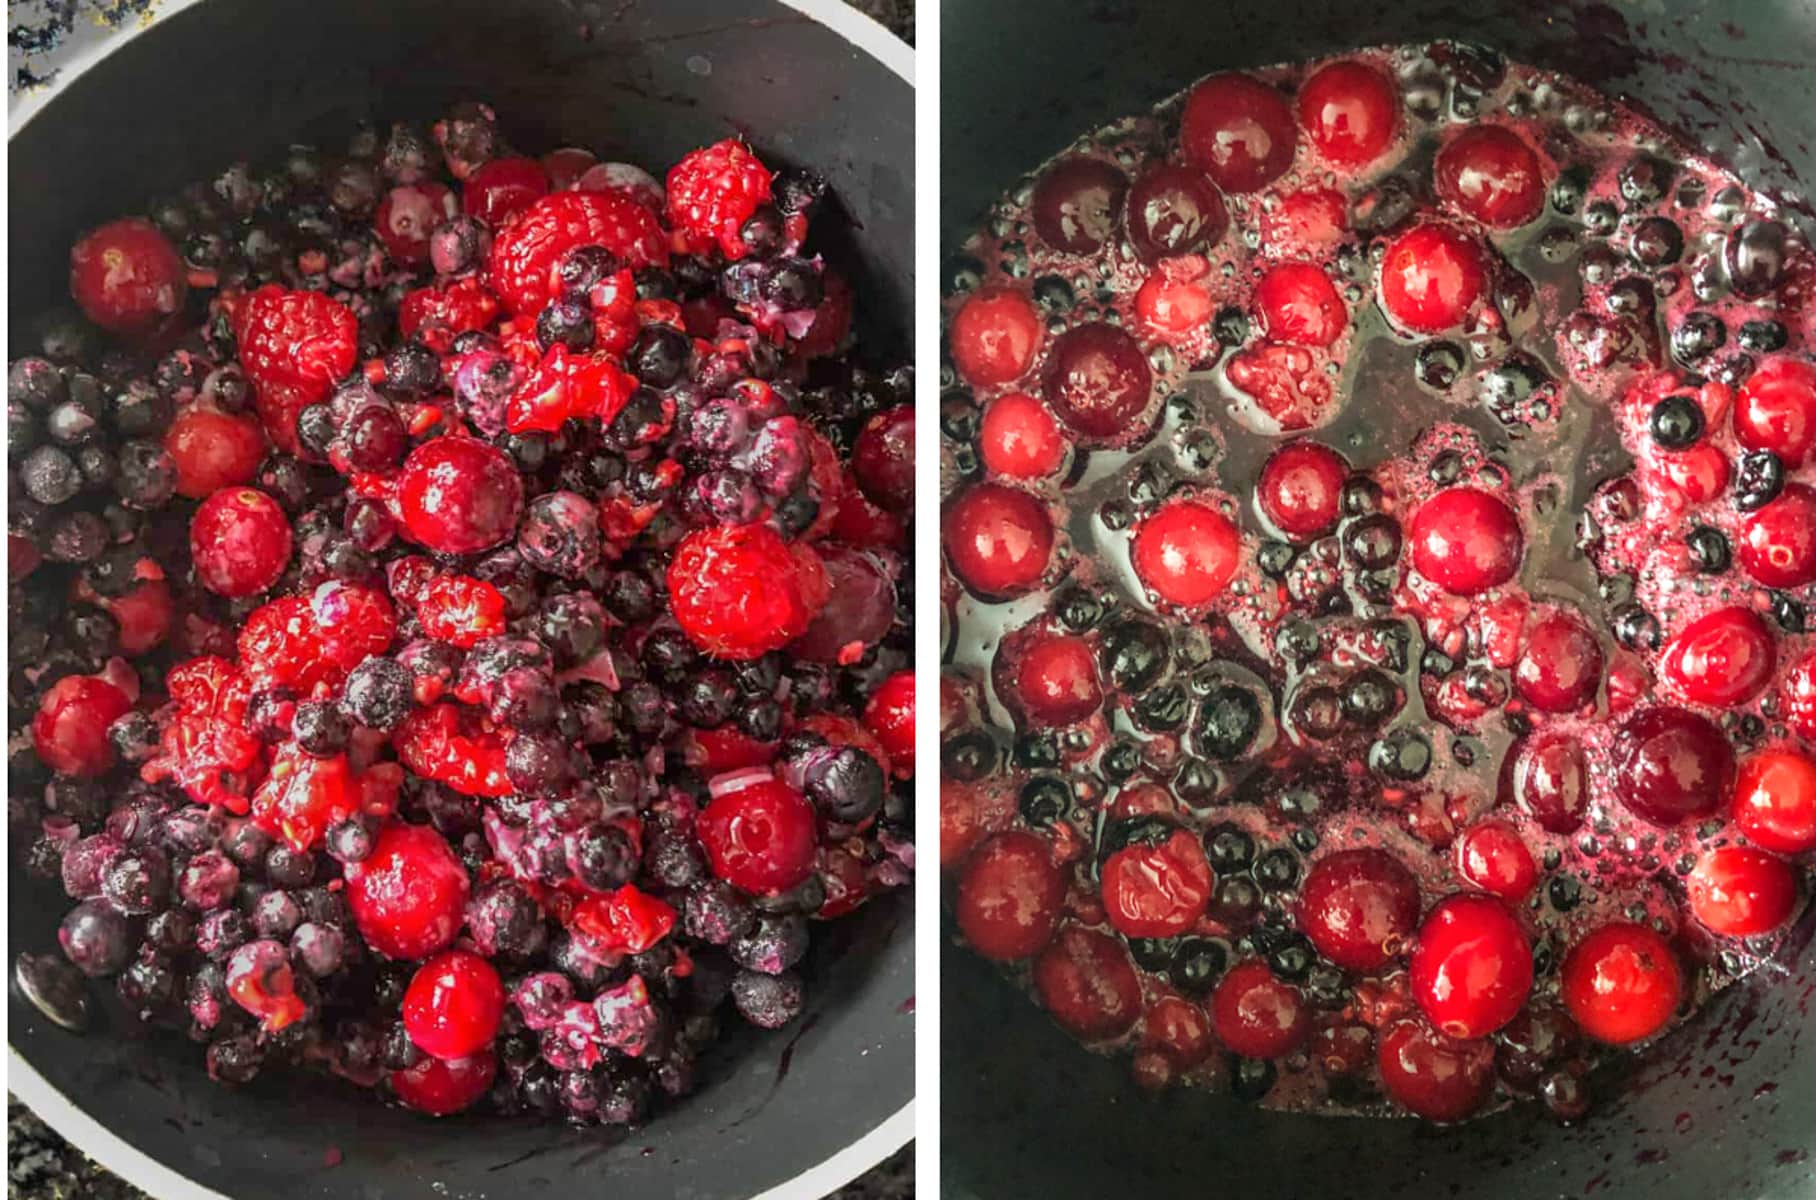
- Then combine the fruit, lemon juice, and maple syrup in a medium saucepan. Heat over medium-high heat and bring the fruit to a boil. As the fruit starts to cook, gently mash it with a potato masher or large slotted spoon to help break down the fruit.
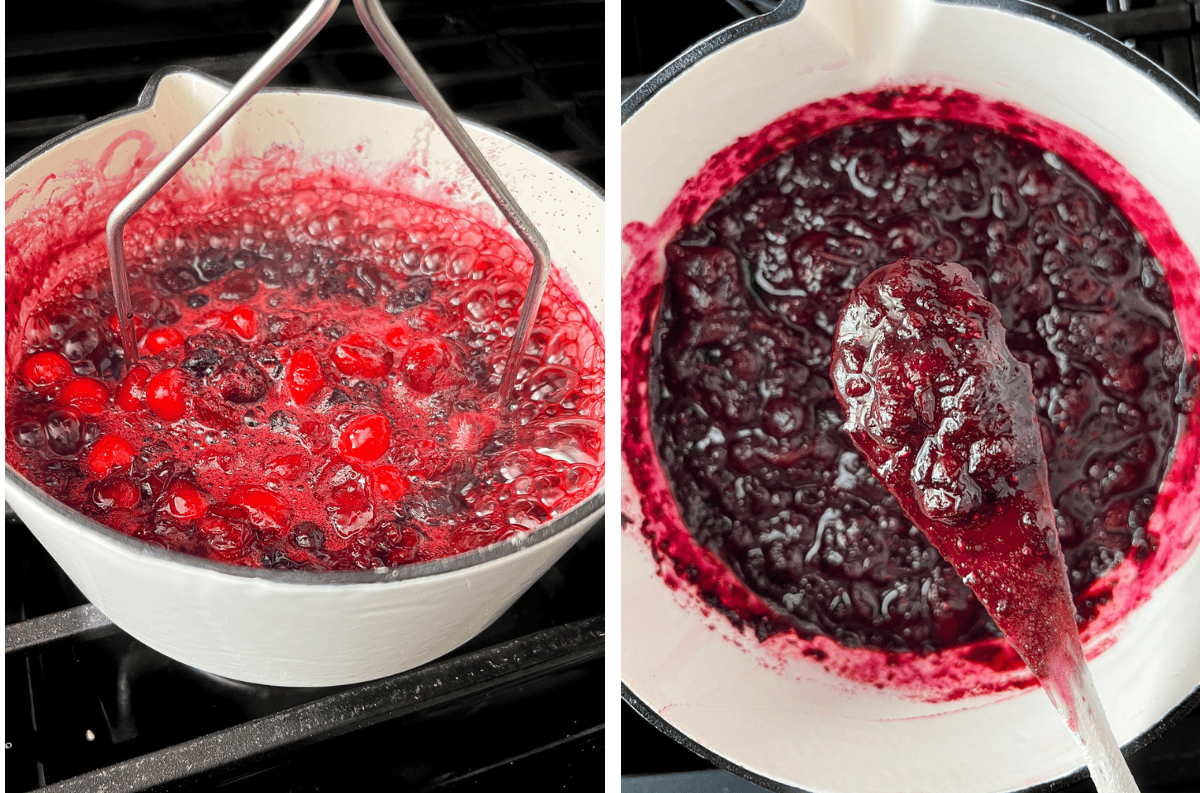
- Turn the heat to medium-high/high and continue to cook (stirring frequently) as the jam thickens to a gel consistency (~15-20 minutes). Some fruit takes a little longer to reduce. Test for doneness (see below).
- Remove the pan from the heat. Once cool, transfer the jam to a clean jar and store in the fridge.
A Few Tips
This jam is really easy to make, but here's answers to a few questions you may have:
- Thickening the Jam: You don't need pectin or chia seeds to thicken this refrigerator jam. The type of fruit will impact how long it takes the jam to thicken. Raspberries and blueberries are pretty fast because they are soft. Cherries, strawberries and cranberries take a little longer (not much) to break down. Slicing the large/firm fruit helps speed up the process.
- How do you know when the jam is ready?: Dab a spoonful of jam onto a cold plate that's been in the freezer. Let it cool a moment then swipe your finger through the jam. If the line stays separated, the jam is ready. If it runs back together, cook the jam for a few more minutes then check again.
- Pro Tip: Take the jam off the burner when it's slightly runnier than you like your jam as it thickens up as it cools.
Ways to Use Homemade Jam
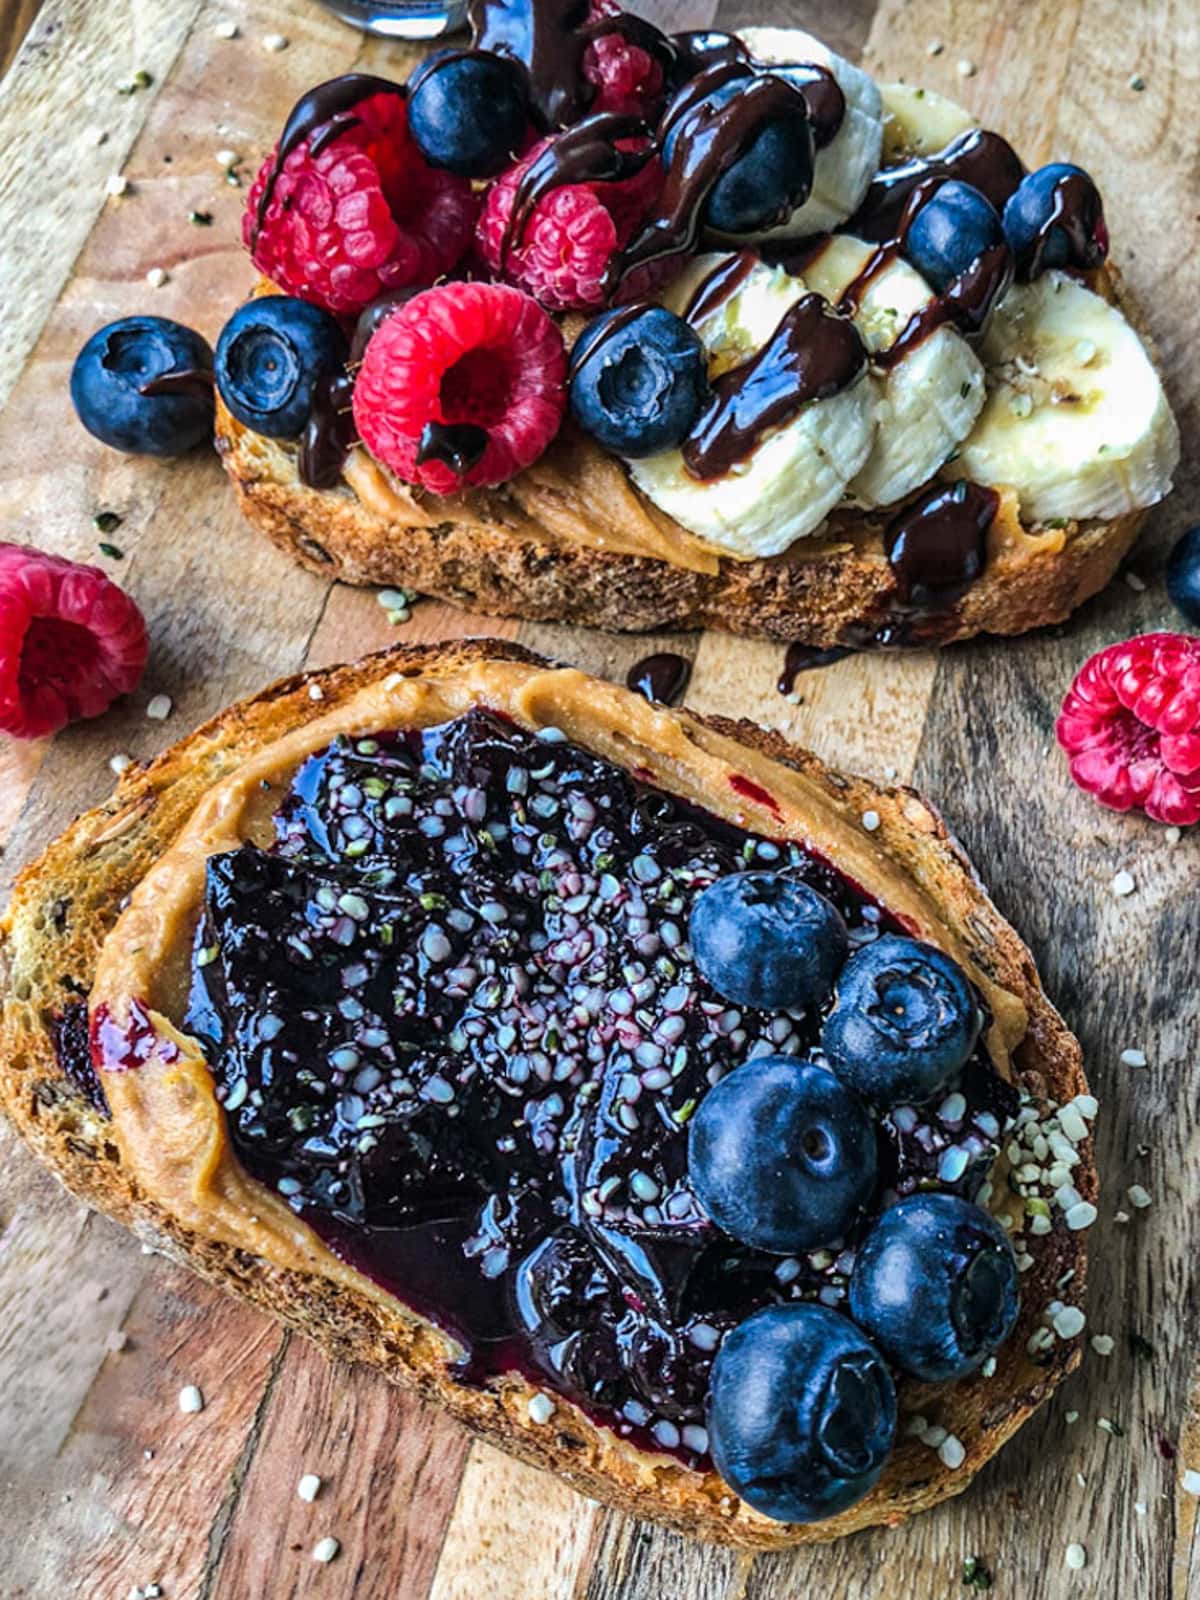
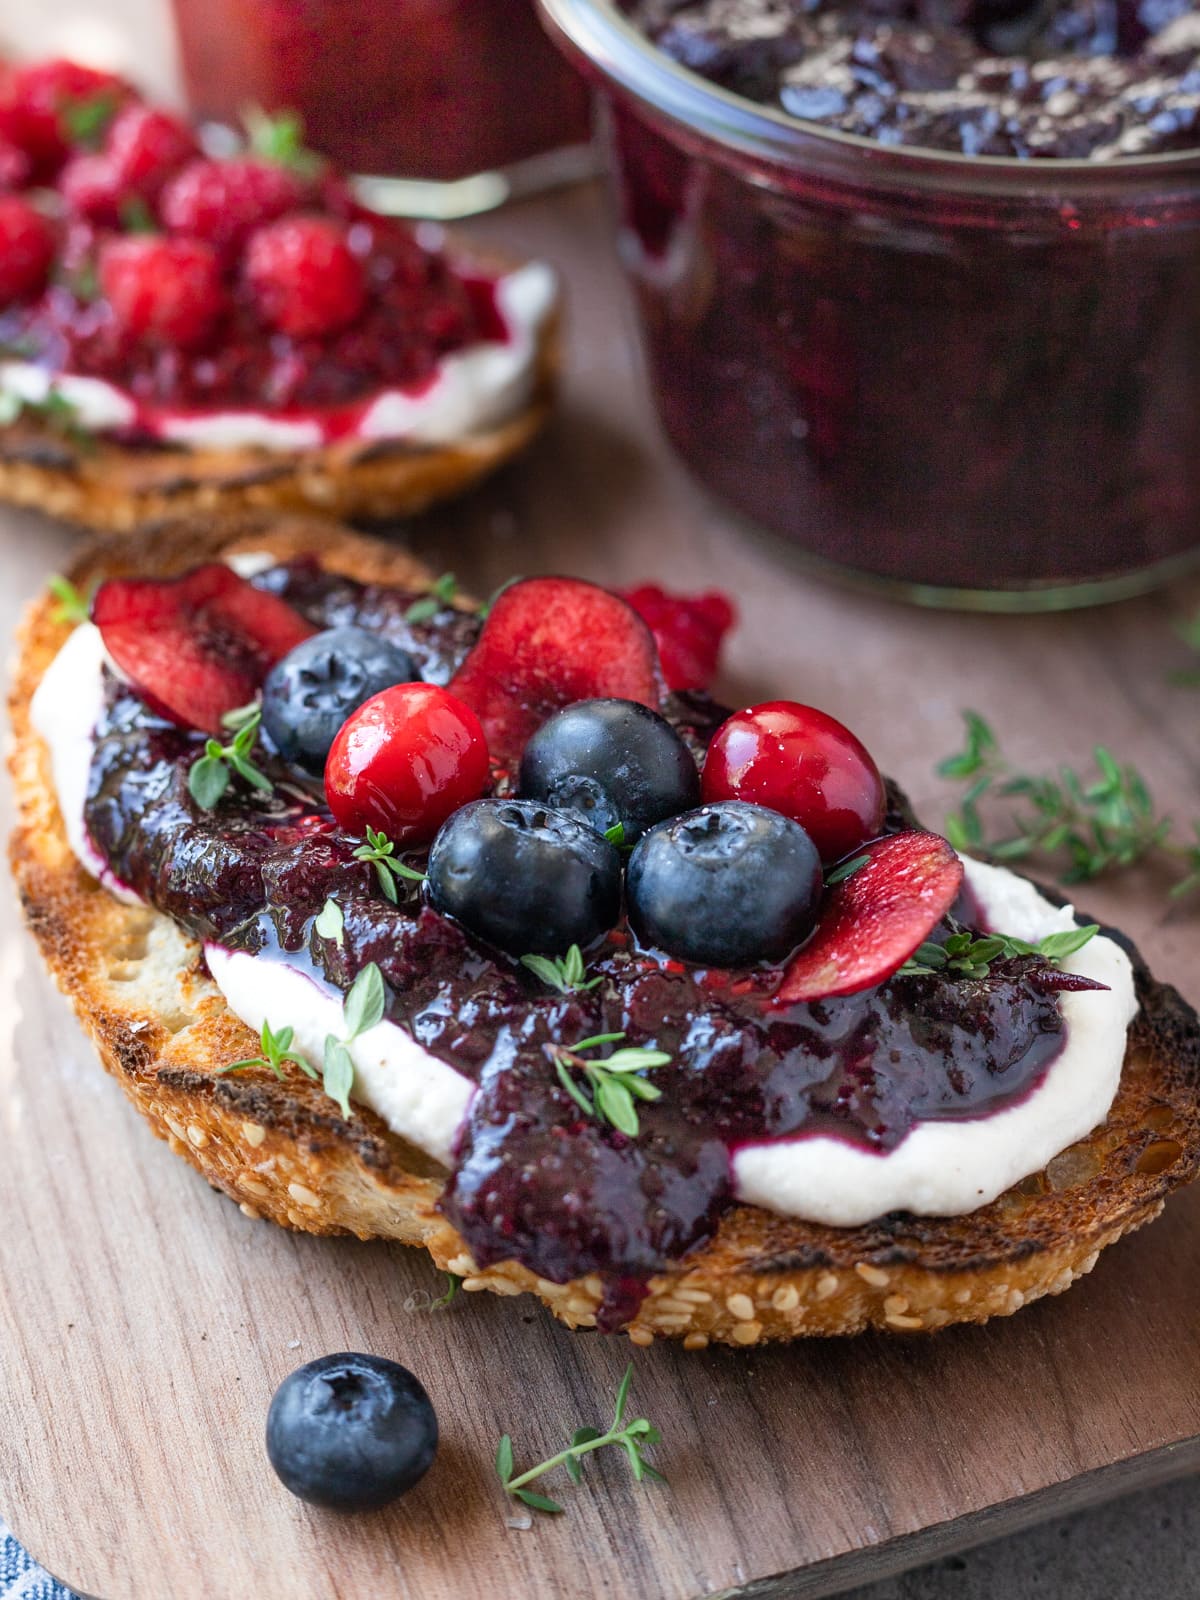
My favorite first breakfast is always coffee and crunchy toast with creamy peanut butter, fruity jam and fresh fruit on top. There are more ways to use your tangy sweet berry jam though:
- Serve on sourdough toast with your favorite cream cheese, cherry, blueberry or strawberry jam, fresh oregano, thyme or basil leaves, and a drizzle of balsamic reduction. Soooo tasty!
- Swirl into a bowl of porridge, overnight oats or a banana berry smoothie bowl.
- Layer into a breakfast parfait with dairy free yogurt, healthy vegan granola, and fresh berries.
- Spoon onto a flaky vegan biscuit topped with chantilly cream and fresh berries.
- Drizzle over incredible vegan banana bread!
- Smeared on a stack of vegan pancakes or waffles.
How to Store Refrigerator Jam
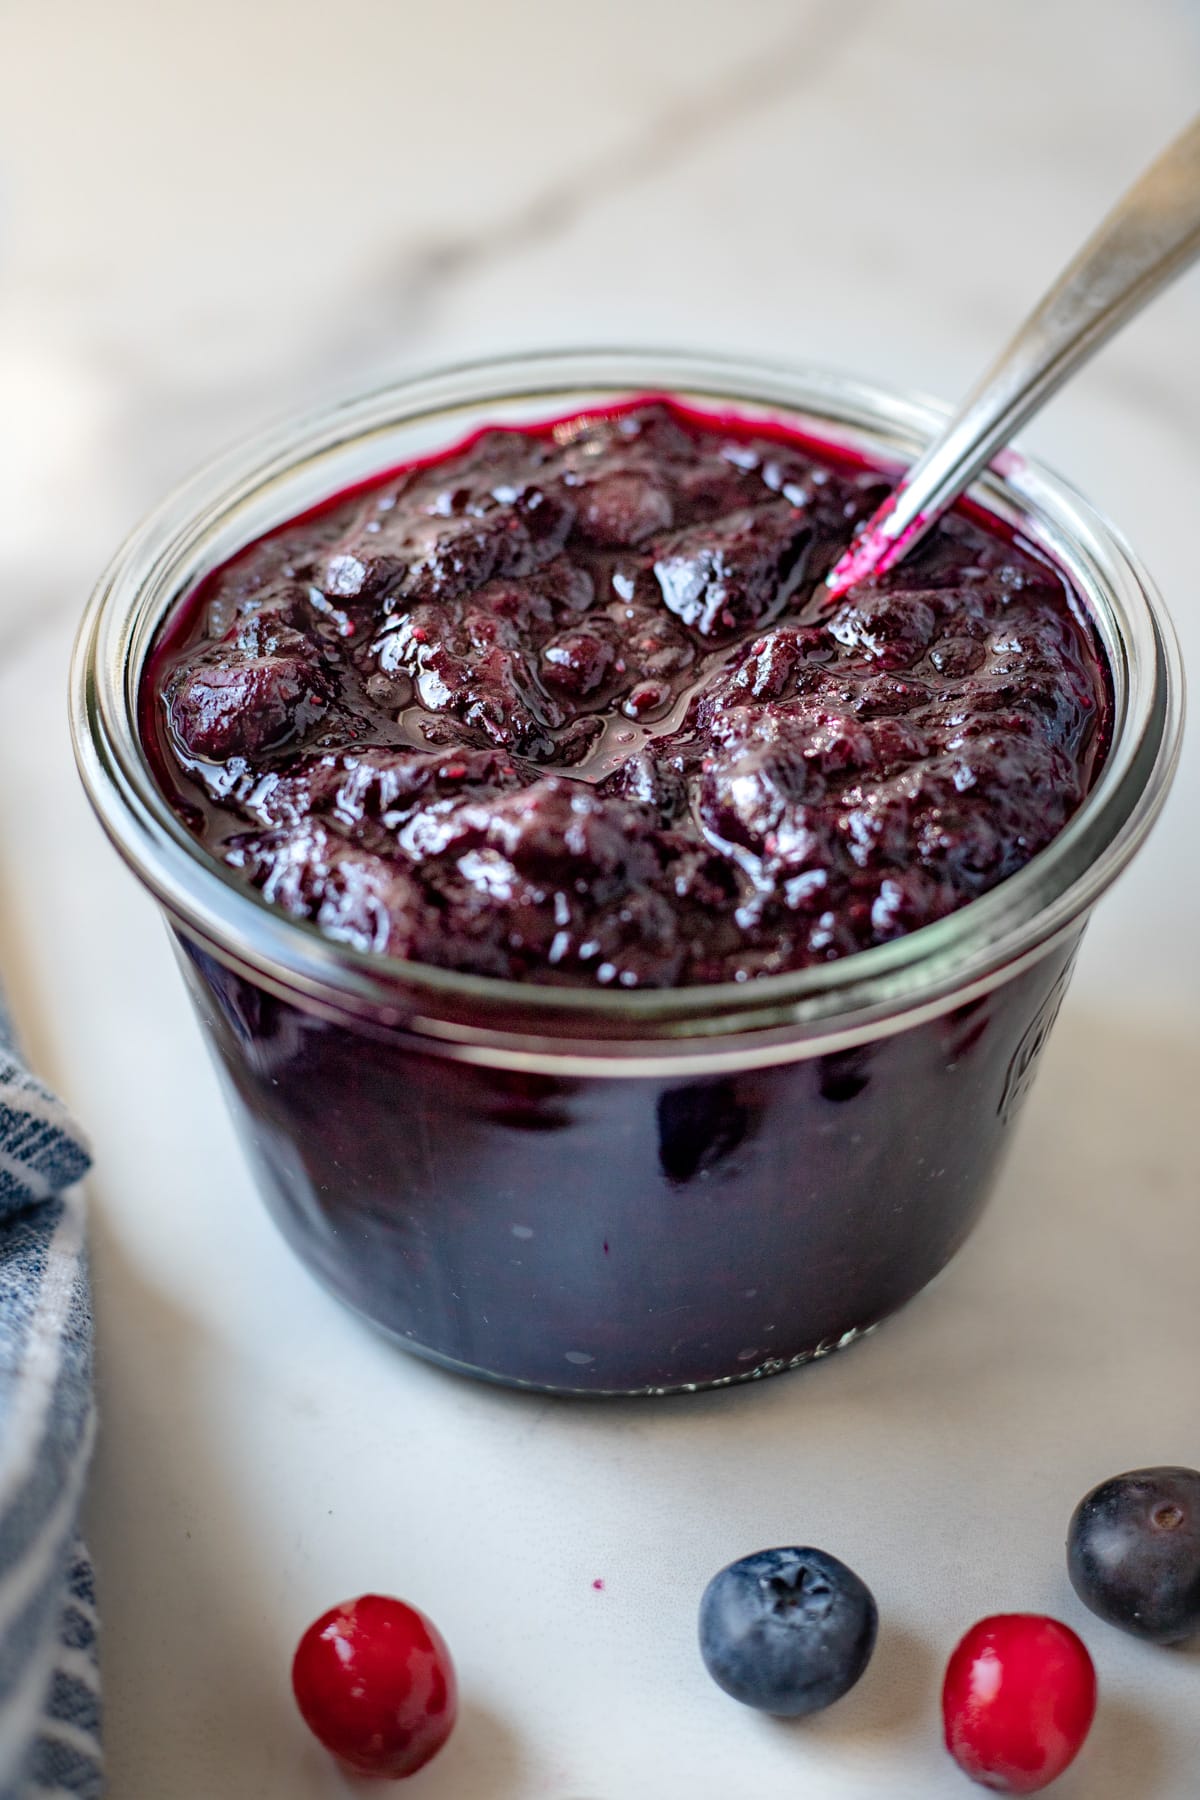
This all natural refrigerator jam has no preservatives so store it as follows:
- In the Fridge in a lidded jar for 3-4 weeks (or as long as it stays fresh).
- In the Freezer in a freezer safe container for up to 6 months.
Did you make my Easy Homemade Jam? If you found this 'How to Make Jam' tutorial helpful then please leave a rating and comment below. It helps others who are thinking about making jam from scratch!
Follow along on IG @ceeceecooks and Pinterest!
NEVER MISS A RECIPE: Sign up for my Sunday morning NEWSLETTER!
Easy Mixed Berry Jam (small batch)
Rate this recipe!
INGREDIENTS
- 4 cups mixed berries (fresh or frozen)
- 2-4 tablespoons fresh lemon juice
- 1-3 tablespoons maple syrup
INSTRUCTIONS
Preparing the Fruit (Use 4 cups of any fresh/frozen fruit)
- Wash fresh fruit, remove and discard the stems and pits*, cut large fruit into pieces. The frozen fruit is good to go straight into the pan. I used 2 cups cherries, 1 cup blueberries, 1 cup cranberries.
- Place 2 small plates or bowls into the freezer for testing the jam later.
- Combine the fruit, lemon juice, and maple syrup in a medium saucepan over medium-high heat. Stir occasionally until the fruit starts to cook.
- As the fruit starts to break down, use a large slotted spoon or potato masher to mash the fruit to your desired jam consistency (smooth or chunky).
- Continue to cook over medium-high to high (stirring frequently) until the jam has thickened (~15 minutes). Taste and adjust sweetness as needed. Check to see if the jam is done using the frozen plate test (see recipe notes below).
- Remove the jam from the heat and let cool. The jam will thicken more as it cools. Store in a clean glass jar with a lid in the refrigerator.
NOTES
- Any fruit: This homemade jam is very customizable. Use 4 cups of any berries you enjoy (raspberries, blueberries, strawberries, cranberries, etc).
- How to remove cherry pits: If you don't have a cherry pitter, use a firm straw to push the pit out through the top (stem end) of the cherry. Or use a knife to slice the cherries in half and pull the pit out (the messiest option).
- How to tell if the jam is set: To test for doneness, drop a small amount of jam onto a frozen plate. Let it sit for a moment, then run your finger or a spoon through the jam. If the line stays, the jam is ready; if it runs back together, it needs to cook a bit longer.
- Pro Tip: Some fruit takes up to 30 minutes to reduce - it depends on the size and type of fruit, how juicy it is, and how hot you cook it. The jam does thicken as it cools. After you've made homemade jam a few times, you will instinctively know when it's ready!
- Storing refrigerator jam: In the fridge for 3-4 weeks or in the freezer for up to 6 months.
- Yield: ~1 ¼ cups of mixed berry jam
This recipe is from simplyceecee.co food blog. All images and content are copyright protected. Please do not use my images or republish this recipe without prior permission. Thank you.
Originally posted August 2018, revised August 2023


Karoline Beninger
Just made the jam again with my Granddaughters this time. They took a small jar for their teachers! We made raspberry, blueberry. It is so delicious and I looked at a lot of other recipes that seemed so complicated. This is super easy and very delicious. 🙏 thank you
Tracy Halasz
Sounds wonderful - thank you for sharing. The teachers will be so happy too!
Kim
I just made a Cherry Blueberry "Jam" from the fruit I picked at my friend's house next door; however, it doesn't seem to be thickening at all. I was so excited to have found a recipe that didn't have gobs of sugar in it. Tastes good though; so there's that... Will swirl it into my yogurt!
Tracy Halasz
Shoot! So sorry ... I made it this week again and it took a bit longer because of the fruit I used. What fruit did you use? How long did you reduce it for?
Dee
Perhaps the fruit was less ripe requiring a longer cook time. You could also added grated apple to the fruit which will help it set. I like mine loose so call it a compote. Good luck.
Karoline Beninger
I am a jam freak. I like sour cherry and blueberry the best. This jam is so delicious and easy to make. It is so delicious on everything! Thanks for saving my pancreas from processing all that sugar.
simplyceecee
Ha Ha! Thanks, Karoline. I'm happy you are enjoying the jam! It's good on pancakes and oatmeal too!
Kenneth
It works very well for me
simplyceecee
Thank you so much. I hope you enjoy!
Eb
TX, great recipe, I'm just upset I didn't pick more cherries.
I looked for something simple and not much sugars to use cherries picked from the backyard tree, (added 1 pint blueberries). It took my 2 * 12 yrs teens longer to pit the cherries than thickening the jam (15-20 minutes total, 7 minutes since adding the chia). The girls had no issue following it and they love the taste and we had no issues offering it to a borderline diabetic friend.
I was afraid it won't be sweet enough but it requires the lemon juice for sourness.
Tracy Halasz
Fantastic to hear! It's so much fun to get the kids in the kitchen too! Happy you enjoyed it!
Dee
I made this a bit loose to serve over angelfood cake. It was so pretty I decided to use it in a parfait. Delicious is an understatement. It was sublime.I used blueberries. Cherries. And cranberry all frozen.Not a maple fan I substituted prickly pear syrup my sister makes from fruits near our home in Tucson. The ruby red and sweet cactus nectar adds a depth to the jam or compote. For parfait layer cake...jam and whipped cream winding up with cream scattered with a few fresh berries
Tracy Halasz
We enjoy it looser over dessert and morning porridge and parfaits as well. Thanks for the review! The prickly pear syrup sounds delicious.