

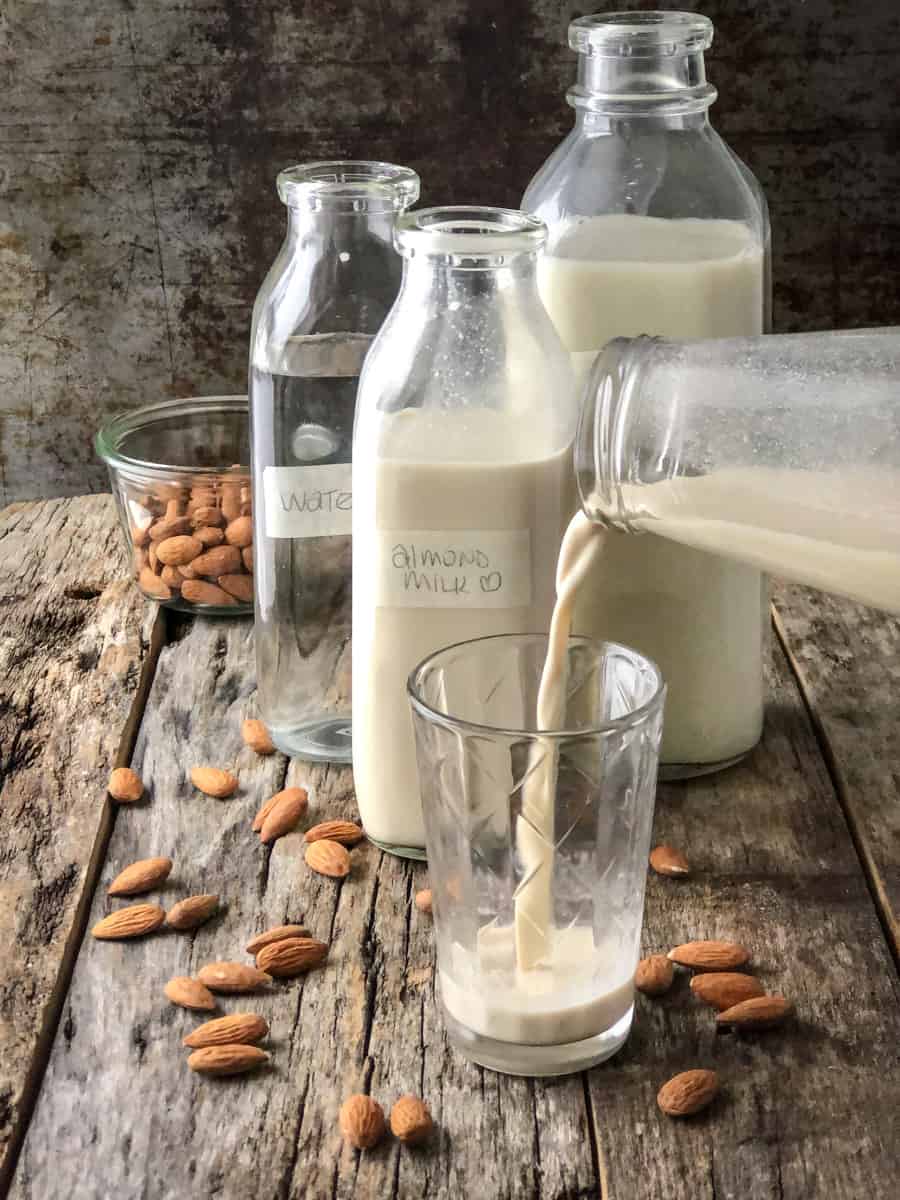
Better than store bought, this creamy, fresh almond milk recipe is easy to make at home. All it takes is 2 main ingredients and a blender - no additives, emulsions or dairy needed. This is the best plant based milk ever!
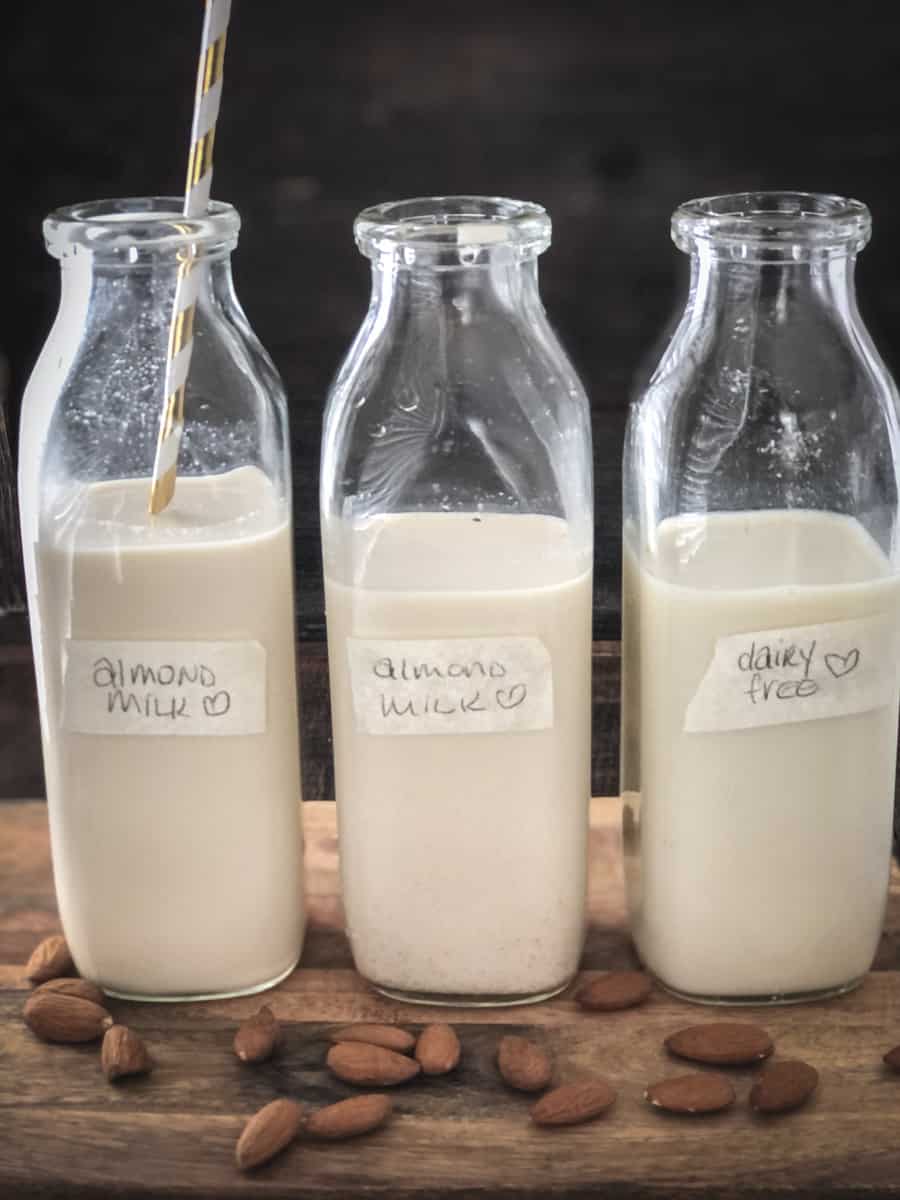
Talk about back to basics, this blender almond milk recipe is so simple to make from scratch! A healthy, dairy free, nut milk that's a super delicious, low-calorie option for anyone sensitive to dairy, lactose intolerant or vegan/vegetarian - and the kids absolutely LOVE it for breakfast on homemade granola.
Dairy-Free Almond Milk Ingredients
Making nut milk at home is easy and affordable. There's really only 2 essential ingredients: almonds and water. But you can customize the flavor to suit your taste. Here's what you'll need for THE most delicious DIY almond milk:
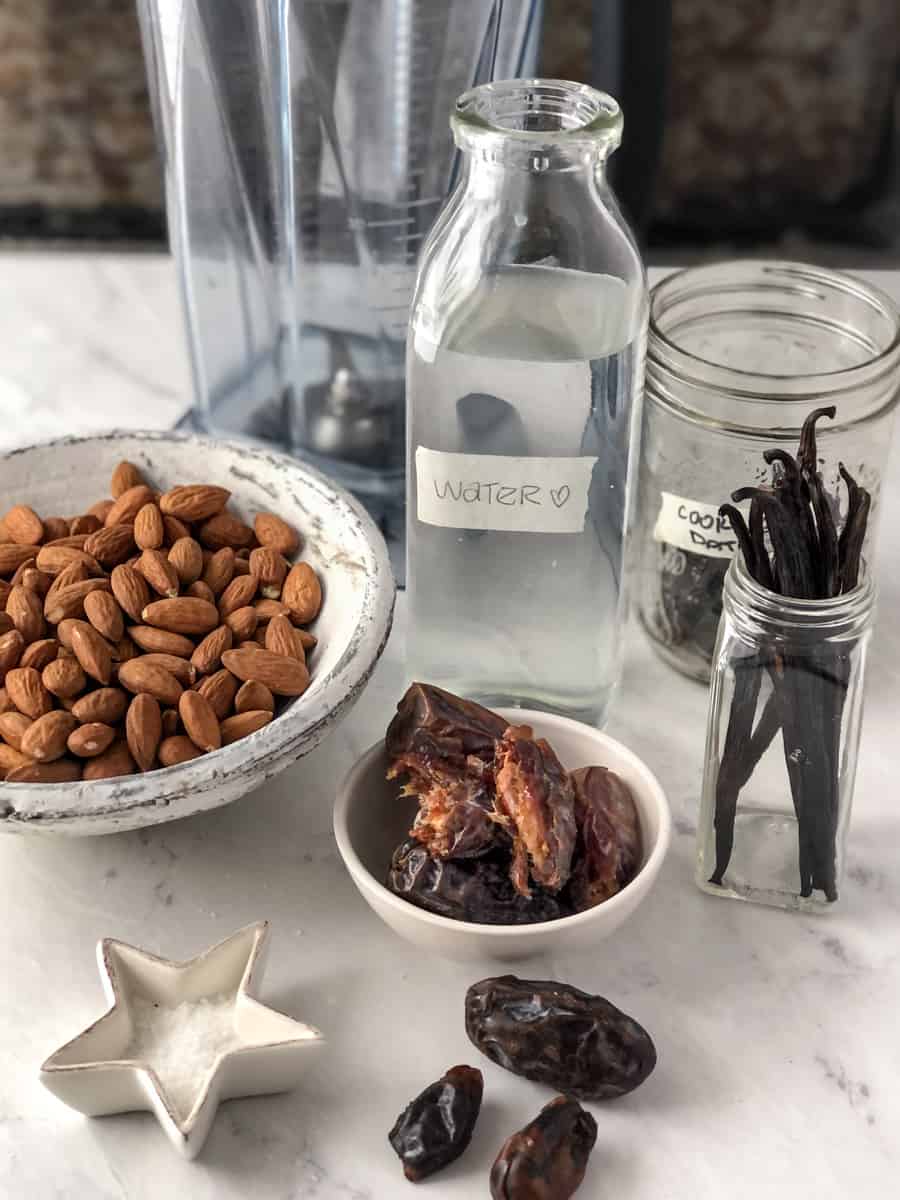
- Almonds: The best almonds to use for this recipe for almond milk are raw, unsalted almonds (not roasted or salted). Organic if possible. Find them at Costco, grocery stores, bulk stores or online.
- Water: Boiling hot water for soaking and filtered water for blending.
- Dates: For natural sweetness, add a couple dates. Any date from Medjool to cooking/baking dates (which are more economical) work perfectly fine.
- Vanilla: Pure vanilla extract (optional).
- Salt: Pinch of kosher or sea salt.
How to Make Almond Milk
You won't believe how quick and easy it is to make homemade almond milk with natural ingredients. Let's get into the details:
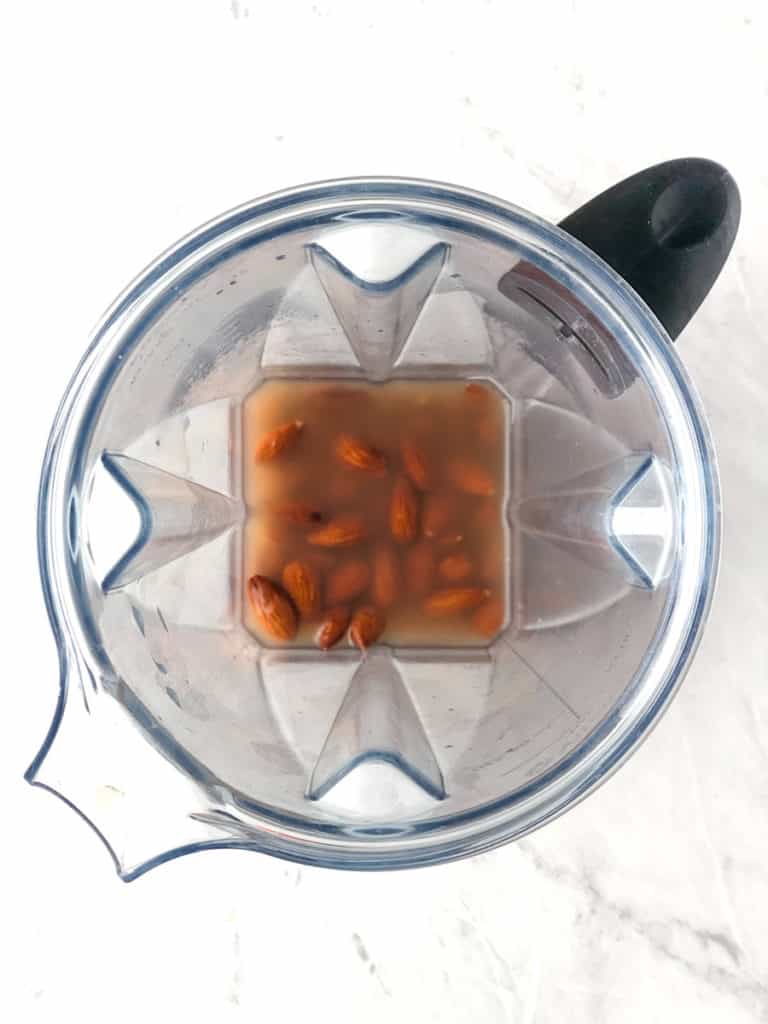
- Soak the almonds: Soak the almonds in boiling water for about an hour (or in room temperature water from a few hours to overnight). They will absorb some water and get plump and juicy making them easier to blend. Drain and rinse the almonds.
- Blend the almond milk: Transfer the soaked almonds to the cup of a high speed blender (like a Vitamix) along with fresh, cold water. (Add dates, vanilla, and salt for added flavor or keep it unsweetened if you prefer.) Blend on high speed until smooth and creamy (this should take around 2 minutes).
Water Tip: Less water = creamier richer milk; more water = thinner lighter milk. I typically use 3 ½ cups.
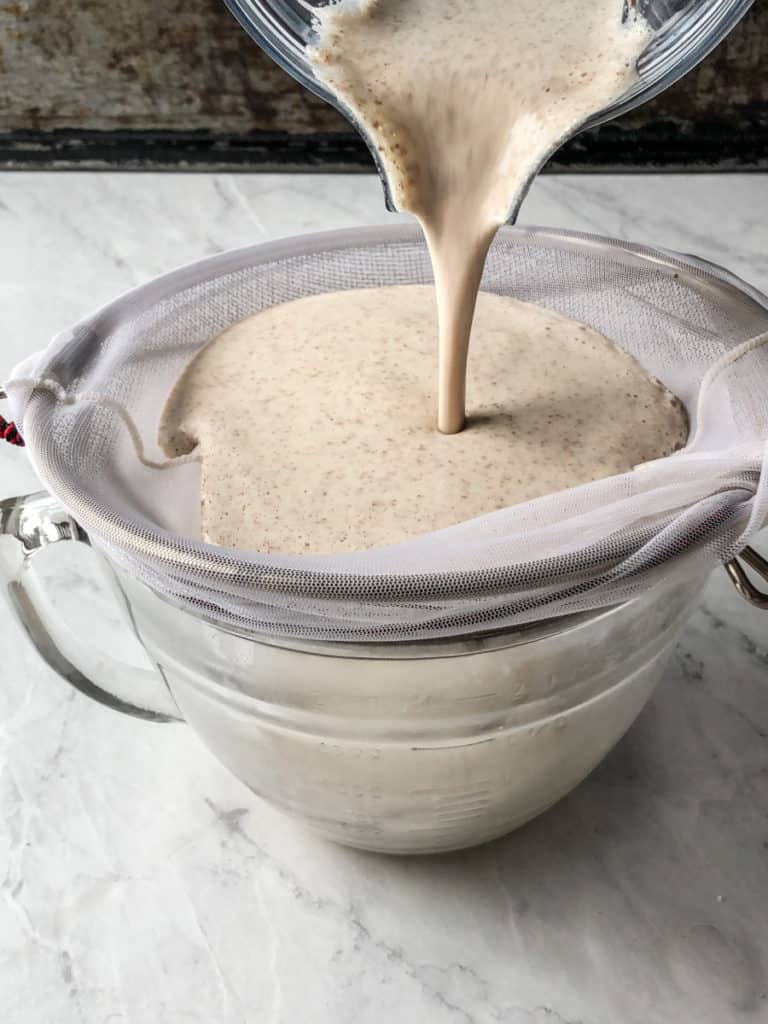
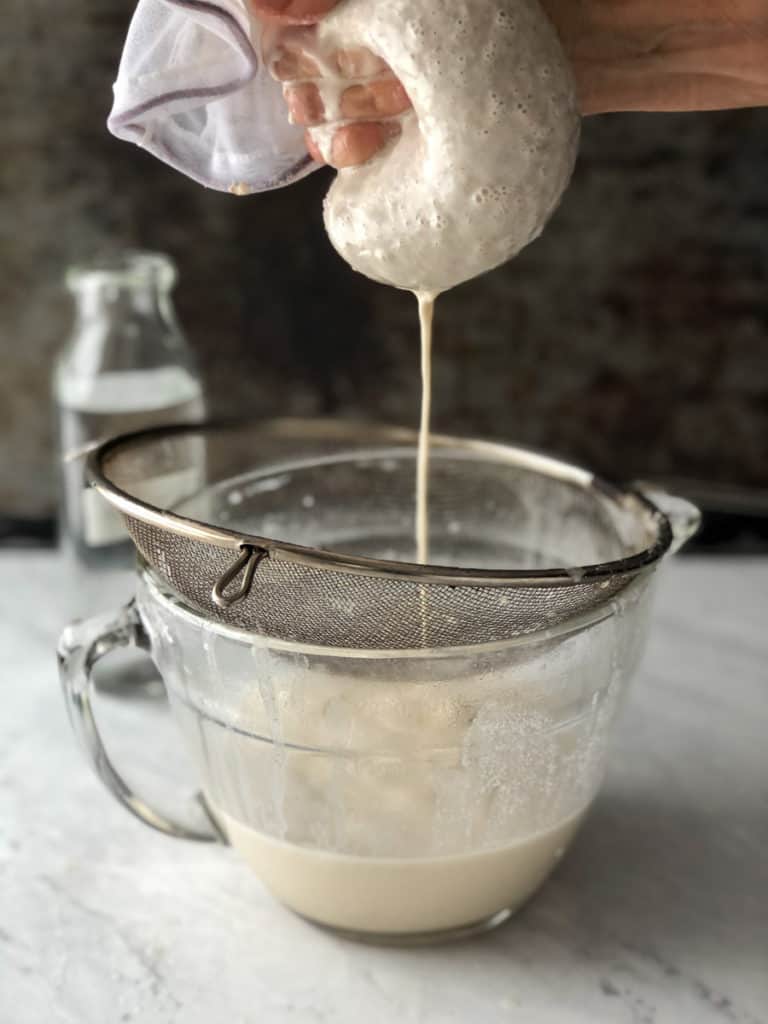
- Strain the almond milk: Once blended, strain the milk through a nut milk bag into a large bowl or large measuring cup. (If you don't have a nut bag, use cheesecloth or even a clean dish towel will work.) This step separates the almond pulp from the milk.
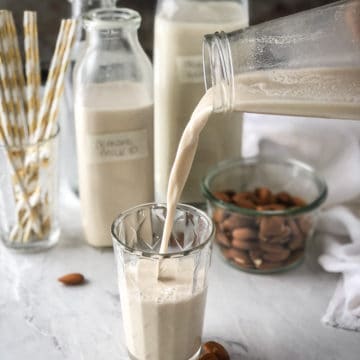
- Enjoy: Pour the fresh almond milk into a jar and store in the fridge or enjoy immediately.
Pro Tip: Leftover almond pulp (aka: almond meal) can be saved in the fridge for a few days or in the freezer if you decide to try making almond flour or a recipe using almond pulp!
Storing and Freezing Almond Milk
- Store the milk in the fridge in a jar with a tight-fitting lid for 5 or 6 days. Remember to shake before using.
- Freeze any leftover almond milk in ice cube trays. Once frozen, transfer them to an airtight bag for up to three months. They are perfect for popping into blueberry smoothies and dairy-free soup!
More Dairy Free Recipes
Here's some more dairy free (vegan) recipes to try next:
- Vegan Heavy Cream
- Vegan Ranch
- Easy Cashew Cream (10 flavors!)
- Vegan Parmesan Cheese
- Creamy Chipotle Sauce
Did you try my healthy, almond milk recipe? If so, please leave a comment and rating below. For more vegan food inspiration, follow along on Instagram and Facebook!
NEVER MISS A RECIPE: Sign up for my email NEWSLETTER!
Easy Homemade Almond Milk
Rate this recipe!
INGREDIENTS
- 1 cup raw, unsalted almonds
- 3-4 cups fresh cold water (filtered)
- 2-4 dates, pitted
- 1 teaspoon vanilla extract, pure
- pinch sea salt
INSTRUCTIONS
Soak the Almonds (*extra time needed for soaking)
- Start by soaking the almonds. Pour boiling water over the almonds in the blender container, and let it sit for an hour or two with the lid until they are plump and juicy. Pro Tip: If you have a high-speed blender like a Vitamix, you can skip the soaking and go straight to blending.
- Drain and rinse the almonds. Return to the blender, add the clean, cold water and the remaining ingredients. Blend until smooth and creamy (this should take up to 2 minutes depending on your blender).
Strain the Almond Milk
- Pour the liquid into a nut milk bag or use a clean, thin dish towel in/over a bowl (see photo).
- Gather the corners of the towel, twist to secure the top and gently squeeze the almond milk into a bowl (or large measuring cup).
Storing Almond Milk
- Pour the strained almond milk into a clean jar with a lid and store in the refrigerator for 5 or 6 days. Remember to shake before using.
Optional Flavors
- Blueberry - Add a handful of blueberries and blend which is a delicious addition to your morning cereal.Hot Chocolate - Add a cup of vegan almond milk, some cocoa powder and a splash of maple syrup to a small saucepan and warm over medium heat. Pour into a mug, add a few marshmallows like Dandies, and enjoy!
NOTES
This recipe is from simplyceecee.co food blog. All images and content are copyright protected. Please do not use my images or republish this recipe without prior permission. Thank you.


Cindy
This is fabulous - especially with a couple shots of espresso! Hot or cold.
Rita Pearsall
I was looking to make a diary free hot chocolate for my little granddaughter. When I made the vanilla version of this amazing recipe, it was so delicious that I decided we would skip the hot chocolate and have warm vanilla almond milk instead — I didn’t want to mask the wonderful flavour of this beautiful creation! So good!
simplyceecee
Thank you, Rita! I'm soooo happy that you and your granddaughter enjoyed the vanilla milk! It's so good isn't it!