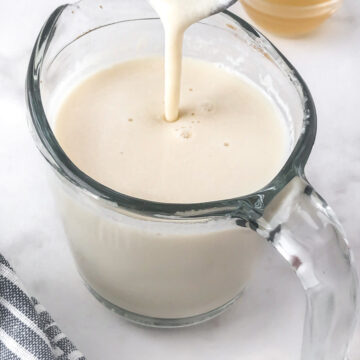
This vegan buttermilk recipe is quick and easy to make in under 5 minutes. It's creamy, rich, and tangy - perfect to have on hand as a buttermilk substitute for making your favorite vegan biscuits, pancakes, salad dressings, and non-dairy baking recipes.
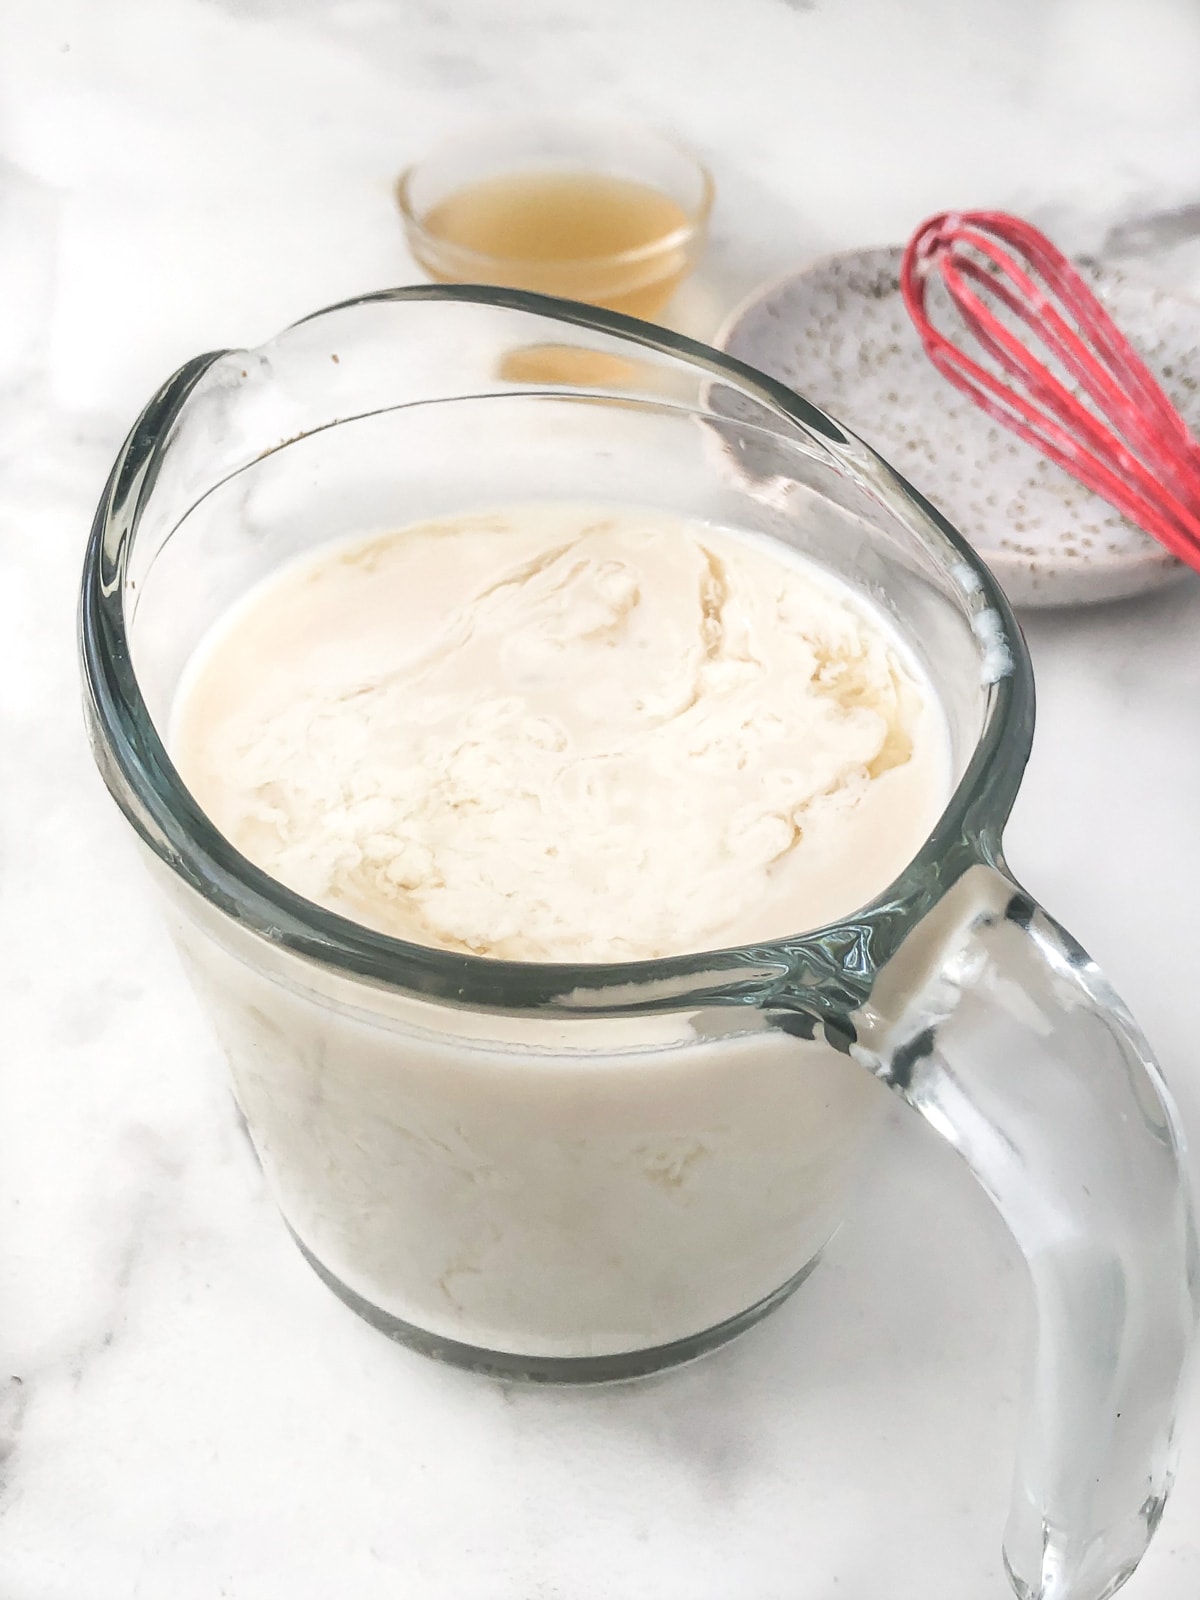
Although my father loved drinking buttermilk by the glassful (we always had a carton in the fridge), no one else in the family does! Luckily it's simple to whip up a small batch of this dairy free buttermilk anytime you need it.
Vegan buttermilk adds tangy richness and a fluffy, tender texture to baking. I use it all the time in my cooking. Sub it 1:1 for any recipe that calls for buttermilk that you want to make dairy free and vegan like your favorite carrot cake, creamy dressings and sauces, a creamy Indian dish or soup, and so much more.
This plant based buttermilk alternative is the perfect solution for people with dairy allergies, who are lactose intolerant, vegans, and vegetarians. It's gluten free and cholesterol free too!
Only 2 Ingredients Needed!
Grab some soy milk and apple cider vinegar, and let's make a batch together.
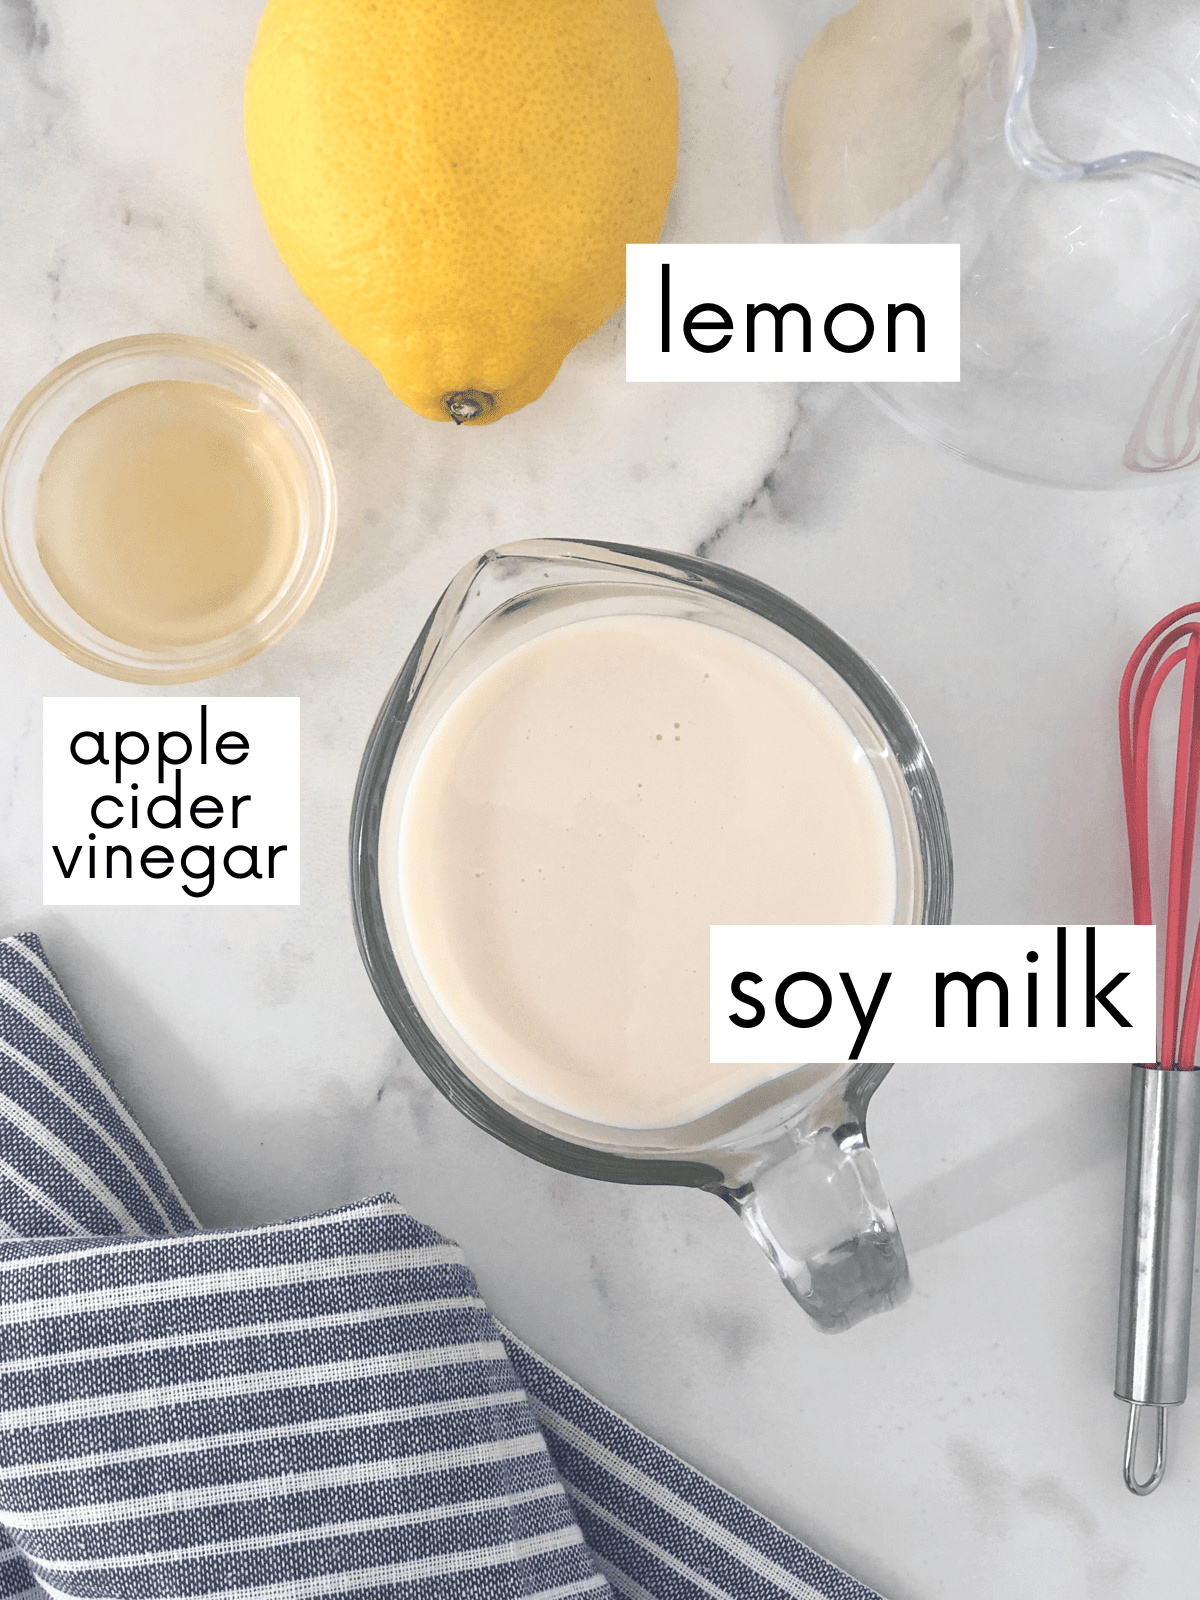
- Non dairy milk: I use plain, unsweetened soy milk because honestly, in my recipe testing, it worked the best out of the plant-based milk I tried. Its consistency is like dairy milk and it has a strong curdling response (which I learned a lot about in my tofu making classes). You can sub unsweetened almond milk or oat milk if you don't have/like soy milk, but I do not recommend coconut milk for this recipe.
- Acid: Apple cider vinegar, white vinegar OR lemon juice all work as the curdling agent.
How to make Vegan Buttermilk
This homemade vegan buttermilk is the easiest recipe on the blog!
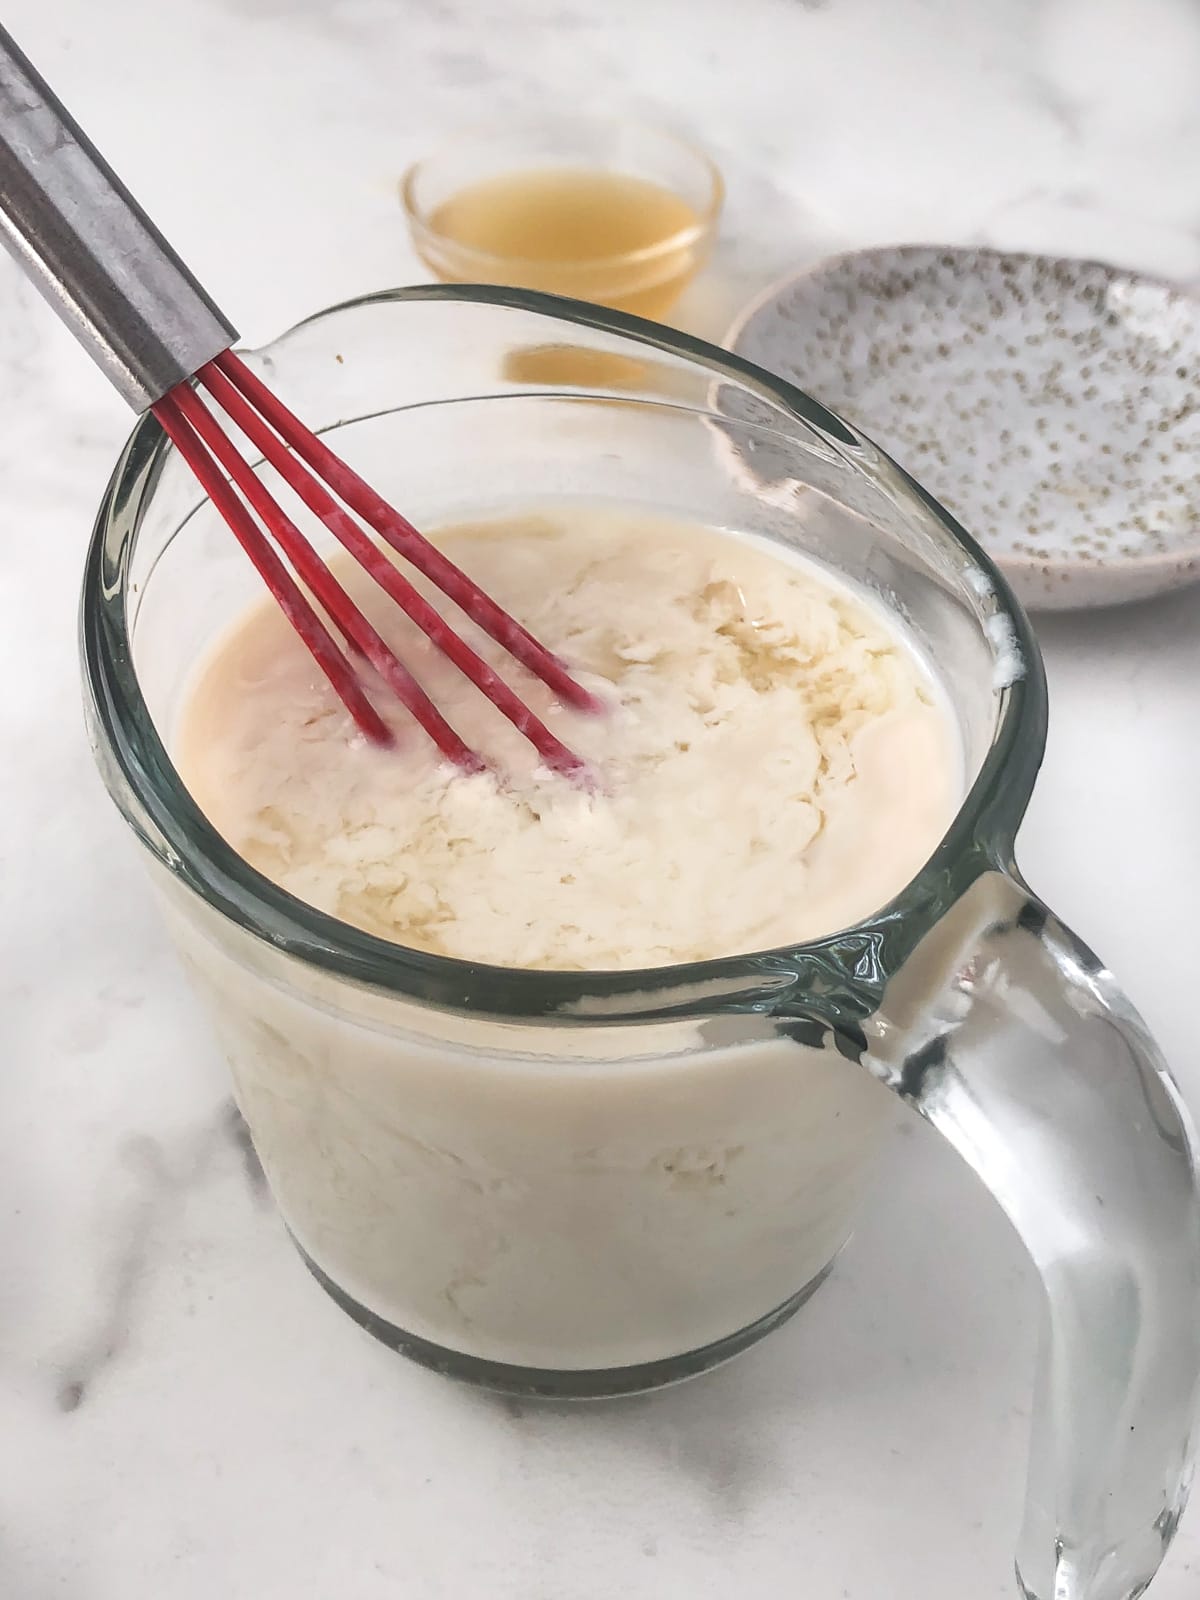
- Pour the plain, unsweetened soy milk into a liquid measuring cup.
- Add the apple cider vinegar and stir together. Pro tip: Don't measure the vinegar over the soy milk incase you accidentally over pour!
- Let it sit for ~5 minutes while the curdles form. Teachable Tip: If you have children, this is a fun 'science experiment' for them to help with.
- That's it! Stir it up and get baking or transfer to a mason jar and pop into the fridge.
Vegan buttermilk has a couple roles in baking. The acidity breaks down the gluten strands making baked goods more tender. As well it helps with leavening making light, fluffy baked goods. Buttermilk adds tang and richness like yogurt and sour cream do but with very little added fat.
Almond milk is a thinner non dairy milk than soy milk so it doesn't create as thick or rich a vegan buttermilk and the curdling response is weaker than soy milk; but it definitely works.
Yes, if you have leftover buttermilk, pour it into an ice cube tray. Once frozen, transfer the cubes to a freezer safe bag. Can be frozen for up to 3 months. Remove the cubes as needed and let thaw before using or pop straight into soups and stews. Pro tip: I measure 1 tablespoon of buttermilk for each cube so I know exactly how many I need to thaw for each recipe.
Ways to Use Vegan Buttermilk Substitute
A great dairy-free buttermilk alternative, this recipe can be substituted 1:1 in any recipe that calls for milk or buttermilk. I like to use it in buttermilk pancakes, vegan biscuits and cakes, dairy-free salad dressings and sauce, and so much more.
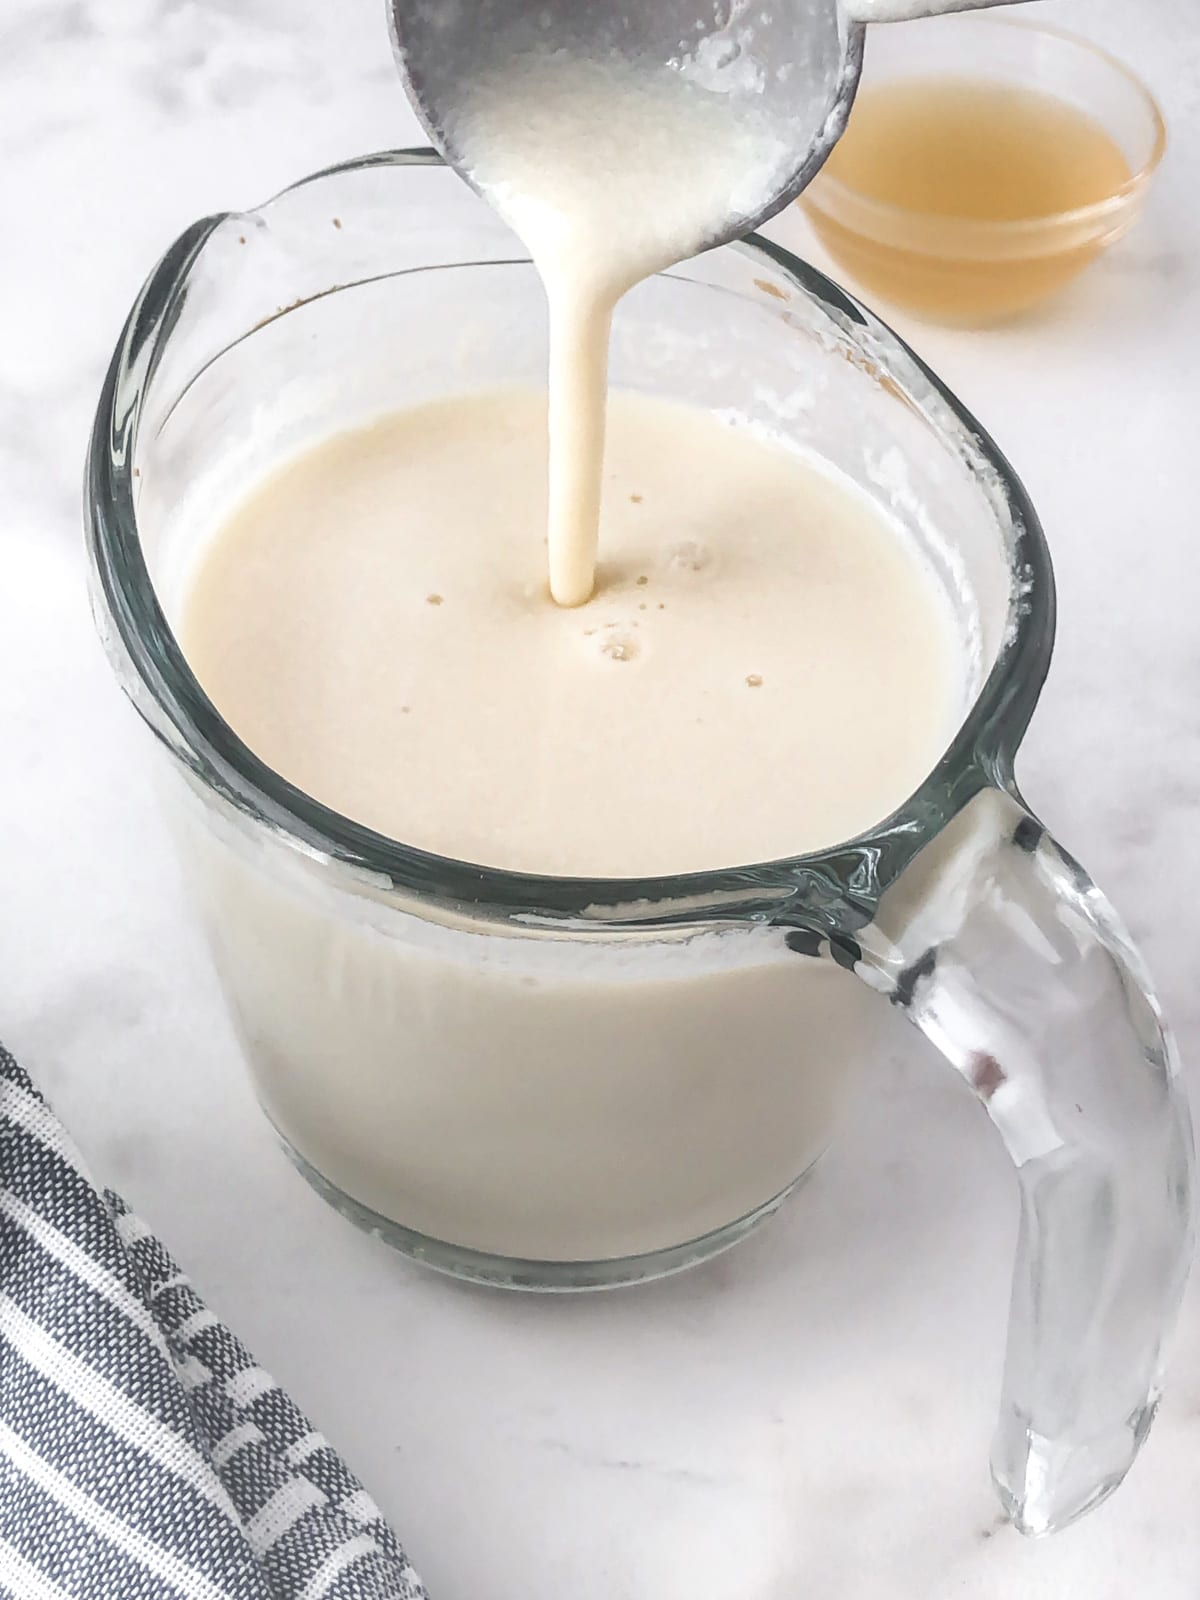
How to Store
Just like any dairy milk, store the buttermilk in the fridge in a mason jar or air tight container. It lasts for ~4 days. The buttermilk will settle in the fridge, so give it a shake before using.
More Vegan Dairy Substitutes
- almond milk recipe
- heavy cream substitute
- dairy free ricotta recipe
- vegan feta cheese
- vegan parmesan cheese
- vegan ranch dressing
- vegan tzatziki sauce
Did you make this vegan buttermilk recipe? Let me know! Please leave a rating and comment below. Follow me on Instagram and Facebook for more vegan content.
NEVER MISS A RECIPE: Join our Sunday morning NEWSLETTER!
5 Minute Vegan Buttermilk Recipe
Rate this recipe!
INGREDIENTS
- 1 cup soy milk
- 1 tablespoon apple cider vinegar, fresh lemon juice, vinegar
INSTRUCTIONS
- Measure out the soy milk, add the apple cider vinegar.
- Stir and let curdle/coagulate for 5 minutes.
- Ready to use.
NOTES
This recipe is from simplyceecee.co food blog. All images and content are copyright protected. Please do not use my images or republish this recipe without prior permission. Thank you.


Leave a Reply